flickr.com/knittycat


Tips & Techniques for Knitting theknittycat's Peeps and Other Toys

Sunday, December 23, 2007

MERRY CHRISTMAS! Our gifts to you - PATTERNS!!


MERRY CHRISTMAS!!
 

We wish you all the very best Holiday Season! 
A very Merry Christmas and a Happy and Healthy New Year to All!

Our gifts to you:
Muppet Patterns!


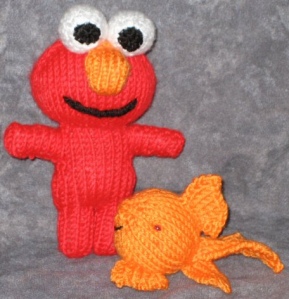
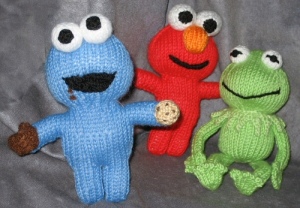
Christmas Cookie Monster for KristinaElmo Peep:


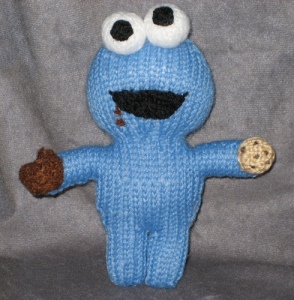
Cookie Monster Peep:


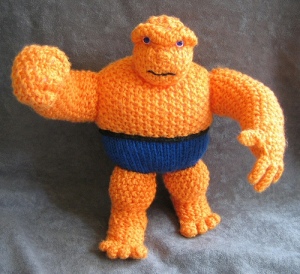
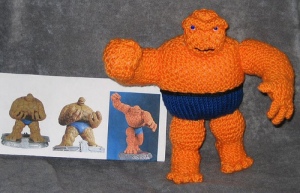
the Thing Pattern? 


Well, the pattern's written and the photos are in it, but it's not fully proof read. 

But here it is anyway!  :o)


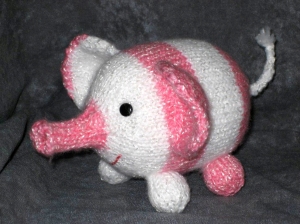
Nellie the Elephant is ready too!


Much Joy and Many Blessings to Everyone!

Please check out www.flickr.com/knittycat for larger photos and all of the peeps.


Saturday, November 24, 2007

Nearly a pattern for the Thing, and other Peep patterns!


Please check out www.flickr.com/knittycat for larger photos and all of the peeps.

A pattern for the Thing?!  Is it possible that she's FINALLY finished it??


Well, It is possible... 


Yes!  I've finally finished writing the pattern!  Whew!  No wonder it took me so long to MAKE him!  I had no idea how much work he was till I wrote it all down.  Being quite a lazy knitter, I would never have tackled such an ambitious project if I'd known in advance how much work it would be.  ;o)  And writing his pattern was even HARDER than MAKING him!!  Sheesh!  All of you pattern designers out there, I take my hat off to you.... or I would if I were wearing one.

But don't let me put you off of making a Thing of your very own.  Although the pattern is pretty long (at least for MY standards ...  I like things I can make in a day or three!), each part of it is fairly simple to do.  I do recommend that you are an experienced knitter, or at least a very adventuresome beginner!  I knit him in the round on two circular needles, but you could use dpns if you are more comfortable with them (they always make me feel that I need two extra hands), and there are no seams to sew, but the head and arms, and brow ridge, are knit separately and sewn on.  Other than knitting and purling, I use k2tog for decreases, and two types of increase stitches, the kfb and the kinc.  Video help for the kinc here
http://www.knittinghelp.com/videos/increases 
scroll about halfway down the page for increasing in the right side of the stitch, where she calls it a KRL (“Knit Right Loop”, and  KLL for the left side of the stitch).  Then it's just knit purl knit purl.... and so on and so on.... till you have a big orange Thing!  :o)


I will be posting the pattern in pdf format very soon (I just need to add photos to it first).  It's my Christmas gift to Marvel fans and the knitters who love them!  :o)

--------------------------------------------------------------------------------------------------------------

  A slightly belated Happy Thanksgiving to all!
--------------------------------------------------------------------------------------------------------------

More Patterns Coming?
 

In other peep news - I've nearly completed a pattern for Nellie the Musical Elephant (because our niece wanted one like her - so I took notes while I made hers - Hurray!).
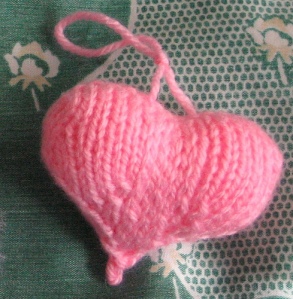
Also, I'll be posting a pattern for the Unbroken Heart soon as well.


Christmas is nearly upon us and I have LOTS of tasks (as I'm sure you all do), so I don't know how much I'll be able to get to, peep-wise, for the next month, but since I've been so bad at adding posts here, you probably won't notice.  ;o) 
The good news (for some folks) is that I'm planning on making an Elmo and a Cookie Monster for Christmas gifts and I'll be making notes on their
construction as I make them, so apres Christmas, there may be patterns for them soon. 


We wish all of you  
Very Happy Holidays!  
And we hope that you have lots of fun preparing for them.  :o)


Tuesday, November 6, 2007

Why Knitting Peeps is Fun... and info about Hello Kitty and Muppet Peeps


Please check out www.flickr.com/knittycat for larger photos and all of the peeps.


Why knitting Peeps is fun...
  • You don't have to worry about gauge.
  • You rarely have to weave in ends (they just get buried into the peep).
  • You can use any yarn that pleases you, including scraps.
  • They are generally very short term projects (instant gratification - something we knitters don't often get).
  • Pretty much one-size-fits-all.
  • They give you the opportunity to try out new techniques on a small project.
  • They're cute and knitting them makes you a very cheerful knitter!
  • They make the recipients happy!
Okay, they won't keep you warm like socks, a scarf or a sweater, but they will give you the warm fuzzies inside.  :o)


Info about Hello Kitty Peep and Muppet Peeps...
I've been getting requests for patterns for a number of my peeps, and I want to thank you all so much for your kind interest in them!  :o)  I'm so pleased that you like them so much!  As you probably know by now, I don't actually HAVE patterns for them.  You may have already guessed that I'm not much of a pattern writer, since I like to make things up as I'm knitting them.  This makes it a little difficult to reproduce them.  :o)  But I am making an effort to share the things I've learned, and I'm writing up instructions as best as I can for the little guys.  I'll be putting up a "nearly" pattern for the Thing here soon, which has been taking up a LOT of my time, and frying my brain (at the moment, it's fairly complete except for the arms and hands), and then I'll be able to concentrate a little more on instructions for some of the other peeps.  I do have some notes on a couple of the others that just need finishing, and I'll put them up as soon as I'm able.


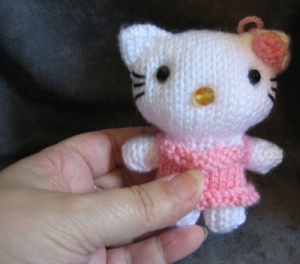
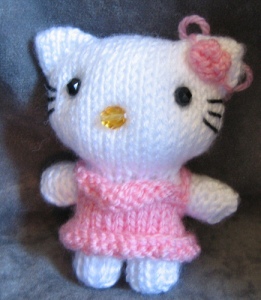
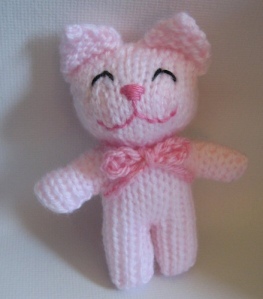
The Hello Kitty that some of you are interested in was actually a very simple variation on the classic peeps, which are made using the double knitting technique.  My recommendation is that you start out by trying out the free pattern for the double-knit bear that is linked to on the intro page (Peeps! and how to make them... Introduction).  It teaches the inside-out double knitting technique really well (that's where I learned it, though I had tried the right-side out technique previously), and it is the starting point for the classic peeps.


Then if you want to make Hello Kitty after that - her legs are a bit shorter and instead of increasing in the center of the front of the face, you increase at the sides, to make her head wide and rather flat, and quite large in proportion to the rest of her body. 

(TIP:  I find it unwieldy to do much increasing and decreasing while the peep is inside out, so I turn them right side out after the arms are made, and place the stitches on two circular needles to do the increasing for the head, or you could use dpns.  Also, I've found that turning goes a lot easier if you turn the arms first.  I also stuff the legs, arms and body at this point, using the back end of a size K crochet hook to push the stuffing into the limbs.)


I used a slip stitch technique to shape her ears so I wouldn't have to knit them separately and sew them on (which I heartily dislike doing), but it would work just as well to make them separately, or pick up stitches at each side of the head for them.  I will eventually provide the slip stitch technique, but I'm not sure when I'll get to it, since there are so many things to do!  So I'd suggest making the ears one of the other ways, and not waiting for me!  :o)   When I do make the bits and pieces separately, I knit them in the round with 2 circular needles so I don't have to make a front and back and sew them together.  The ears on the classic peeps are double knitted while making the heads, and require a break in the yarn for the second ear, but no other sewing.  (Have you gotten the idea yet that I don't like sewing?). 


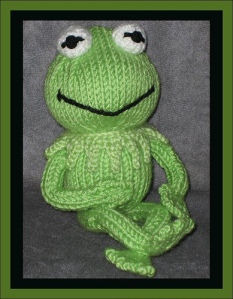
As to the muppets... I don't have any patterns started yet, but since I am making an Elmo, and possibly a Cookie for Christmas gifts, I will try to make some notes as I go.  Except for Kermie, They are based on the classic peeps, but are larger, and have much larger heads.  Then their eyes, Elmo's nose, and Cookie's cookies were knitted separately in the round, then stuffed and and sewn on.  Kermie was approached totally differently, knitting his body and head in the round in one piece, then each limb knitted in the round, then stuffed and sewn on.


I hope this has been helpful to you.  If you check back here occasionally, I hope to eventually get some patterns done and posted.  But as I keep making new peeps, and I'm as slow as a snail at writing patterns (if a snail wrote patterns) ... I think it is going to be a looong process!  :o) 


Monday, October 22, 2007

The Thing in progress ... Jean Greenhowe Patterns and Kinki Knitting


Please check out www.flickr.com/knittycat for larger photos and all of the peeps.

A Pattern for the Thing?
It's taking me a lot longer than I had hoped to write up a pattern for the Thing.  Making him was a bit more complicated than I'd realized. 


When I approach "sculpting" with knitting, I nearly always create as I go, without much, if any, plan.  I sometimes have a specific image in my mind, or at least the approximate size and shape of the item. And sometimes I have an image or images on paper (like the
Muppet characters, Hello Kitty, the Marvel Comics' character, the Thing,

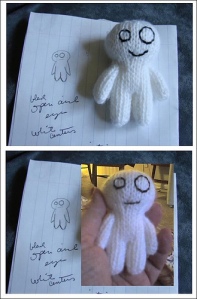
and Matt's character designs of Ted and NegA-teD, amongst others).


I simply begin, usually at the bottom, and work my way
up, creating the desired shape with increases and decreases as I go.  I am not really conscious of the difficulty of the process till some time has gone by and completion is not yet in sight.  :o)
I'm sure that I wouldn't have tackled some of the projects I've made if I'd thought out the difficulty in advance!  ;o)  I like simple and quick projects!

With the Thing, I was knitting pretty intensively for a few weeks, so I guess he was rather difficult for me.  Hard work, anyway.  Though not difficult to figure out how to manage the shaping.  He's pretty blocky.  It's proving much more complicated and challenging  for me to analyze how I did what I did, and put it in writing, step by step.  I want to say "make this part as tall and wide as desired", but that's not much use to someone who wants to work from a pattern, is it.

So, the upshot is that it's taking me a lot longer than I'd hoped to put it all down in a useable form.  Especially since I no longer have the fellow and have to work from the photos that I took.  Happily, I took a lot of photos!
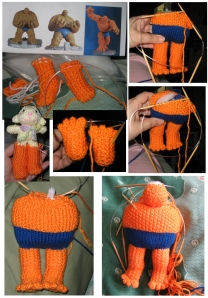
And here's a collage of some of the in-progress photos that I took during his creation:


I'm still hard at work, analyzing his structure and writing up the steps to create him, in between making other peeps, of course.
I have such admiration for all of those prolific pattern writers out there!  How on earth do you do it?!

Jean Greenhowe Books...

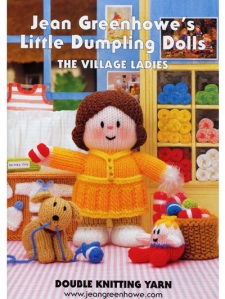
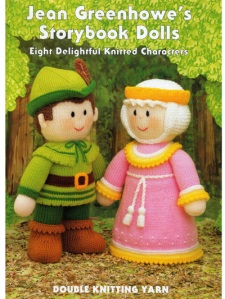
On a happier note - speaking of prolific pattern writers - I recently received two of the absolutely marvelous Jean Greenhowe pattern books that I'd ordered from www.anniesattic.com!

Her knitted characters are just so wonderful!   I especially loved the Little Dumpling Ladies!  (just look at this adorable lady in the YARN SHOP!!)  Besides, I'm rather a "little dumpling lady", myself.  ;o)


And, although I am unlikely to ever actually make anything from one of her patterns (since they are knit in pieces and sewn together and I dislike doing that, and they have LOTS of little details that make them gorgeous, but I don't like to fiddle with), I really enjoy looking at the pics, and thought that I might pick up a tip or two, like a different way of making hair, etc.  Or just more inspiration!  :o)  Just looking at these beautiful creations makes me very happy!  :o)


Kinki Knitting...


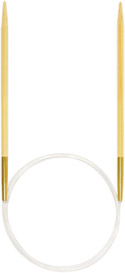
I've recently purchased some new circular needles from www.spinblessing.com (I use circulars for all my knitting), and I'm just crazy about them!  They're lovely, silky smooth bamboo, with nice flexible cables, really smooth joins, and SWIVELS inside the joins!  I really love working with them! And they have sizes all the way down to US 0!

The brand is Kinki Amibari (KA), with prices starting from $7.35 for 16 inch needles (the length I use for knitting small items in the round).  The sizes range from US0 up to US17 and most sizes cost under $8.00!  Compare that to Addi Natura's (which are nice but don't have a very smooth join) for $13.00 to $16.00 each!  The Kinki Amibari needles come in several lengths, though I didn't look at the prices of any but the 16" length.

Previously, my favorite needles, and really the only needles I liked to work with, were vintage nylon circs, which haven't been made in a lot of years.  I've been collecting these needles for several years, getting them wherever I could find them, but it's becoming more and more difficult.  So I'm ecstatic to find needles that I'm really enjoying using that are readily available!  Hurray!   Be forewarned though, there is usually a one week delay before the needles are shipped from spinblessing.com since they are ordering them from the manufacturer in Japan.  But they're definitely worth the wait!  :o)
Well, I just talked myself into going and ordering some more!  Yay!

(A little post script:  Please forgive the erratic spacing in this post.  I'm having some trouble with the coding produced by Vox's compose window.)


Wednesday, September 26, 2007

Character Peeps - Marvel Comics' the Thing


I recently posted a new Character Peep to our flickr pages modeled after the Marvel Comics' character the Thing (link), and suddenly, it went a little mad in our e-world!  :o)  Apparently, there is a LOT of interest in the Thing (member of the Fantastic Four in Marvel Comics, and recently immortalized even further in a big screen movie).  Folks were viewing and blogging about our humble little version, and interest in a pattern became apparent.


Making the Thing
Unfortunately, as I've mentioned, I rarely knit from a pattern, and usually knit freehand, inventing (sculpting the shape) as I go, so there is really no exact documentation of how I made the Thing.  I can reconstruct a close approximation of how I made him, but the exact execution will be up to anyone who wants to duplicate my efforts.
Update: I'm hard at work, writing an actual pattern.  I hope to have it finished within the next week, and I will post a link here as soon as it is ready.


I did take a few "in progress" photos, during his construction, and hope that they will help you to visualize the process.  I will include them on the page with the pattern when it is completed.


BRIEF OVERVIEW OF THE THING'S CONSTRUCTION:

There is really nothing very unusual about the construction of the Thing. He's actually engineered in the same way as any basic, two-legged, standing, toy, and can be crocheted, instead of knit, if you prefer.  My version is knit in seed stitch (k1p1 then knit the purls and purl the knits) except for the shorts which are stockinette.

If you've made other toys or amigurumi, he is made using the same process.


  • Starting from one foot, knit the foot and leg in the round in the same way that you'd knit a simple sock or bootie.
  • Put the stitches from the first leg onto a holder and make the second leg the same as the first and add the toes to both feet.
  • Attach the color for the shorts and knit across both legs (front and back), picking up the stitches for the first leg from the holder.

  • Knit the torso in the round up to the neck, (changing back to the body color at the waist).
  • Knit the head and arms (including the fingers) and sew them onto the torso.
  • Knit the brow ridge and sew it on.
  • Knit the waistband and sew it on
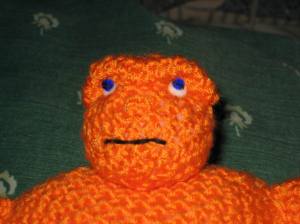
  • Pop in the eyes and embroider the mouth

VOILA!  The Thing!


Since he wasn't going to a small child, I did insert pipe cleaners into the legs, arms and torso, to give a little posability and stability (because he's so top heavy).

For much more detailed instructions, please see the Pattern for the Thing linked to on the

MERRY CHRISTMAS! Our gifts to you - PATTERNS!!

post. (now finished!)    :o)

Monday, September 10, 2007

Peeps! and how to make them... Introduction


To view the Peeps Collection, please visit our flickr site www.flickr.com/knittycat

My abortive attempt to blog the Peep Saga has been put on hold because it's taking me too long to get it going.  Sooo... I've decided to start this little interim blog to more quickly address the requests for patterns and how-to's that are coming in, while I'm bogging along with the main blog.  :o)
I make my Peeps (also known as Amigurumi) freehand, without patterns (unless I write one), and only some of them with a plan.  :o)   Almost all are knitted, as that is my current passion (and is much easier on my painful hands), but I reserve the right to toss in a crocheted one whenever the whim strikes.  ;o)


There are four distinct varieties of peeps:
Classic Peeps,     Character Peeps,
        More Elaborate Peeps,

  and Inanimates (food and other items). 
Plus there are always guys that don't fit any of those categories,
  
so they will be Special Peeps.


Classic Peeps:
Classic Peeps are made using the double knitting method from the legs to the neck.
For an excellent description of this technique, please see this pattern.  www.free-knitting-pattern.com/doubleknitbear.htm
Although I cannot find the author's name on her site, she does give the following credits for the inspiration for this pattern:
"I got this idea from Jacquee Gillespie of Heber, Utah. The Double Knitting technique is from Beverly Royces’ book which is edited by Meg Swanson and available from Interweave Press."  The doubleknit bear pattern author also has this pattern available for purchase in a package with other patterns here or alone here.
Double knitting, using the method described above, is a really fast and easy way to knit a simple three dimensional tube-like item.  You knit the item inside out so that you simply knit one stitch and slip the next, across the needle (you don't need to pass the working yarn back and forth like you do with double knitting right-side-out).  This knits one side of the item, then you turn the needles and knit/slip across the other side.  When you finish, you turn the item right side out, and VOILA!  It's one piece of in-the-round knitting that you did straight across!  Magic!  :o)
The body, legs and arms of each of the classic peeps are knitted with this method, inside out, in one piece, on one circular needle (you can use two straight needles if you prefer) and then turned right side out and placed on two circs (or on dpns if you're comfortable with them), and the head is knit in the round.  The pieces are all together when you finish knitting, and there are no seams to sew.
In the pattern (above) for the doubleknitbear, the author suggests that the head also be done with the doubleknitting technique, but I find it unwieldy to do much shaping while doubleknitting, so I turn the peeps right-side-out before knitting the head, and continue in the round from that point.
More examples of classic peeps:
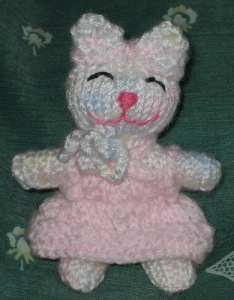
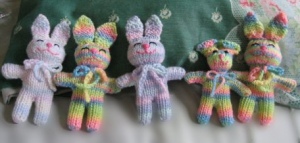
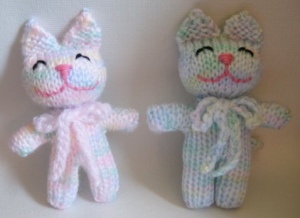
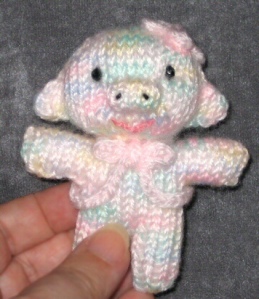
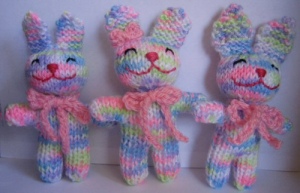
C & C's kitty peepsPenelope PigolettaSissy in her new pink lace dressThe Vanilli Sisters - 3 Giggle Bunnies


Character Peeps:
Character Peeps are based on existing characters and are created in a variety of ways, depending on the looks of the character, and my mood.  :o)  And the desires of the recipient, if they know about the gift before it's made.
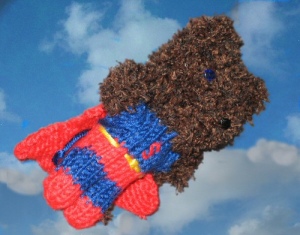
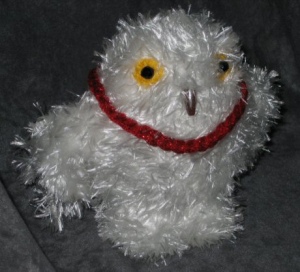
Some of them (like Elmo and Cookie and Kitty and Super Bear) are started in the classic peep method, and veer off when the head is made.  Some (like Kermie and Hedwig and Taz) bear no resemblance to the classic peep creation method, and are each approached on an individual basis.


Cookie MonsterElmo & GoldySuper Bear Peep in flight with cloudsAlex's snowy owl HedwigHello Kitty for Nicole front 3 qtr


More Elaborate Peeps:

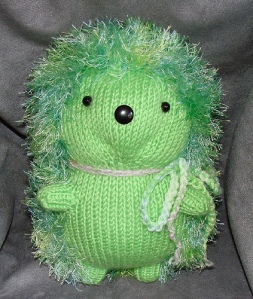
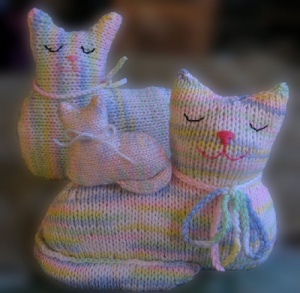
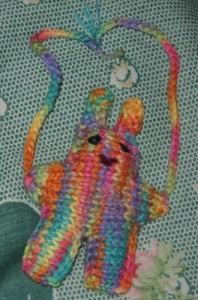
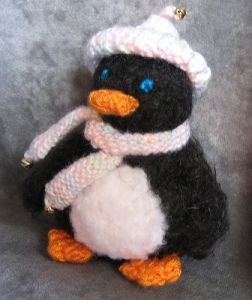
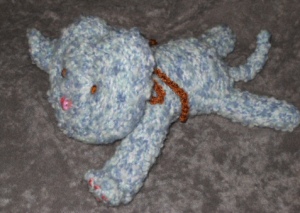
More Elaborate Peeps are also created in a variety of ways, depending on the looks of the character, and my mood.  :o)  And the desires of the recipient, if they know about the gift before it's made.  But these aren't based on an existing character.  The inspiration for them can come from anywhere, and their design may begin with looking at lots of pictures of real and imaginary animals (like for Linus the Penguin, and Harmony the Hedgehog) or may just be a product of imagination (like Marietta the Flat Cat, the kitty pillows, or the video game bunnies).
 
 
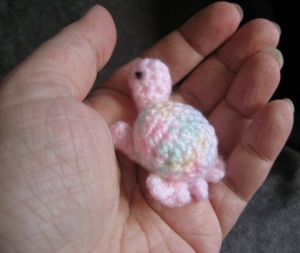
MiniMe  turtle cupped in my handKristina's birthday & D's armrest  kitty pillows & wee prototypeTony's video game character Easter "bunny"Linus the Penguin with scarf & hatKatie's Flat Cat Marietta side
Some of them (like Marietta and the kitty pillows) are made using the double knitting technique, but most are knit in the round on two circs.  There are a few exceptions, of course, like MiniMe the crocheted turtle, and Harmony the Hedgehog, who was knit partially in the round but, although the fuzzy back was knit at the same time as the front, they weren't connected while knitting and had to be sewn up (ugh!) later.


Inanimates:
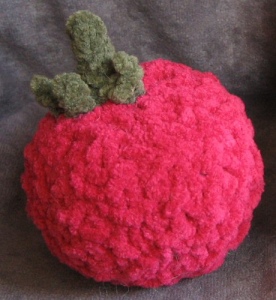
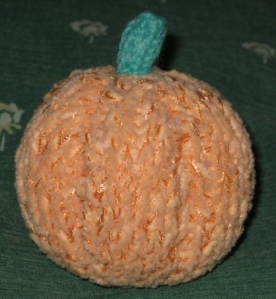
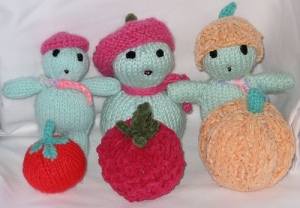
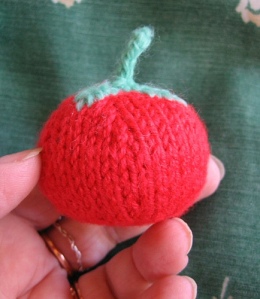
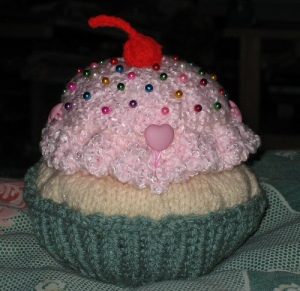
So far, most of the inanimates are food, and most are created simply knitting in the round with two circular needles.  There are exceptions, of course, including an "unbroken" heart which is created all in one piece, using slip stitches, with no break in the yarn to make the second lobe.  Most of them, thus far, have been created as brain food for the ZomPeeps (more on that later).


Unbroken HeartPeter Pumpkinhead's pumpkin w flashZompeeps & Fruit Brains with flashtomato in handDiane's bday ice cream dish sewing kit - with a cherry on top