flickr.com/knittycat


Tips & Techniques for Knitting theknittycat's Peeps and Other Toys

Showing posts with label pattern. Show all posts

Wednesday, March 12, 2014

Legs for Eggs with Leggs

......

        Spring is coming!!  :o) 

                   
              Getting ready for a        


My dear friend, 
Chiwaluv (of Chiwaluv Amigurumi http://www.blogger.com/profile/10814053987758155829 ) 
asked me how to make the legs/feet for the Eggs with Leggs, and I wrote this up for her.   Since Easter is getting close, I'm sharing it with anyone who'd like to make these funny little guys.  :o)    We found them to be very amusing. 


For more about the Eggs with Leggs, and their cousins, the Eggy Peeps (including a pattern), please see these posts:
And


Note: although the available color patterns are not the same as when I made these, four years ago (!), you can still find some terrific patterns in Bernat Baby Jacquards here:
And other places.  Self patterning sock yarns would work well too, just use appropriate needle sizes to make a tightly knit fabric so the stuffing doesn't show.   Or if you're energetic, create your own stripes and patterns. ;o) 


Here are the Leggs instructions for the Eggs with Leggs.  I hope it's understandable.   It's just icord folded and stitched, but not so easy to describe how to do it.  Heh heh.  


Leggs for Eggs with Leggs

I made a 6.5" to 7" 4st icord out of orange Microspun (probably on sz 3 ndls)
as follows:

1. C/o 4 st
2. K arnd on 4 st till cord is 6.5" - 7" long. 
3. End off. 

Fold and stitch the icord into two "Y" shaped feet (using 1 icord to shape both feet - attached at the bottom of the "Y") as follows:
(I separated a length of matching yarn into two parts, half the strands in each, for sewing it together.  But thread would work too.)

1. Holding the end of the icord vertically, go up 1/2" from the end of the cord held in your fingers, run the tapestry needle with yarn or thread thru, go up another 1/2" and fold down. 
2. 1/2" from the first fold, fold up and run tapestry needle thru the fold.
3. 1/2" up from the second fold, fold down.  Run needle thru all 4 strands. 
4. Down another 1/2" (down 1" from the third fold), stitch down to the last fold and through the start of the icord (1 foot is shaped). 
 ** Do not cut icord. ** 
 ** You will continue with the second foot on the same cord. **
5. Fold cord up from last fold and run stitch thru the fold. 
6. Repeat steps 1-4 for the second foot. 
7. Sew to bottom of egg. 

Without the stitching, the folds will look like 2 "M"s with long outer legs.


I'm sorry I don't have a better photo of the legs.  These were all given away and I didn't take any pics of the legs on their own.  :o( 


Wishing you all a very Happy Spring!!  It'll be here soon, I promise!  :o)   
And have fun with your Eggy Peeps and Eggs with Leggs!


Saturday, November 24, 2007

Nearly a pattern for the Thing, and other Peep patterns!


Please check out www.flickr.com/knittycat for larger photos and all of the peeps.

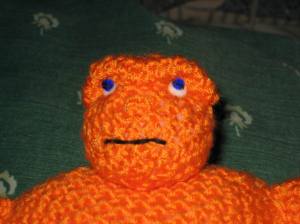
A pattern for the Thing?!  Is it possible that she's FINALLY finished it??


Well, It is possible... 


Yes!  I've finally finished writing the pattern!  Whew!  No wonder it took me so long to MAKE him!  I had no idea how much work he was till I wrote it all down.  Being quite a lazy knitter, I would never have tackled such an ambitious project if I'd known in advance how much work it would be.  ;o)  And writing his pattern was even HARDER than MAKING him!!  Sheesh!  All of you pattern designers out there, I take my hat off to you.... or I would if I were wearing one.

But don't let me put you off of making a Thing of your very own.  Although the pattern is pretty long (at least for MY standards ...  I like things I can make in a day or three!), each part of it is fairly simple to do.  I do recommend that you are an experienced knitter, or at least a very adventuresome beginner!  I knit him in the round on two circular needles, but you could use dpns if you are more comfortable with them (they always make me feel that I need two extra hands), and there are no seams to sew, but the head and arms, and brow ridge, are knit separately and sewn on.  Other than knitting and purling, I use k2tog for decreases, and two types of increase stitches, the kfb and the kinc.  Video help for the kinc here
http://www.knittinghelp.com/videos/increases 
scroll about halfway down the page for increasing in the right side of the stitch, where she calls it a KRL (“Knit Right Loop”, and  KLL for the left side of the stitch).  Then it's just knit purl knit purl.... and so on and so on.... till you have a big orange Thing!  :o)


I will be posting the pattern in pdf format very soon (I just need to add photos to it first).  It's my Christmas gift to Marvel fans and the knitters who love them!  :o)

--------------------------------------------------------------------------------------------------------------

  A slightly belated Happy Thanksgiving to all!
--------------------------------------------------------------------------------------------------------------

More Patterns Coming?
 

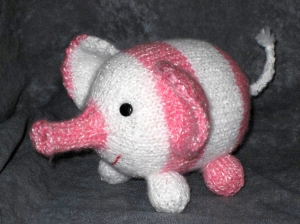
In other peep news - I've nearly completed a pattern for Nellie the Musical Elephant (because our niece wanted one like her - so I took notes while I made hers - Hurray!).
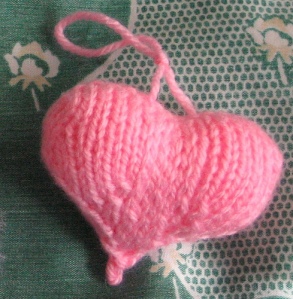
Also, I'll be posting a pattern for the Unbroken Heart soon as well.


Christmas is nearly upon us and I have LOTS of tasks (as I'm sure you all do), so I don't know how much I'll be able to get to, peep-wise, for the next month, but since I've been so bad at adding posts here, you probably won't notice.  ;o) 
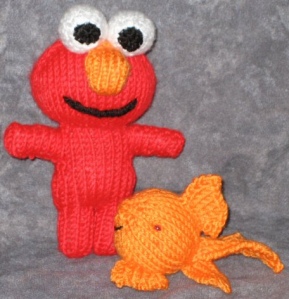
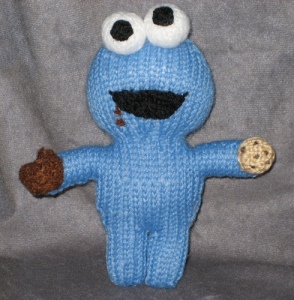
The good news (for some folks) is that I'm planning on making an Elmo and a Cookie Monster for Christmas gifts and I'll be making notes on their
construction as I make them, so apres Christmas, there may be patterns for them soon. 


We wish all of you  
Very Happy Holidays!  
And we hope that you have lots of fun preparing for them.  :o)